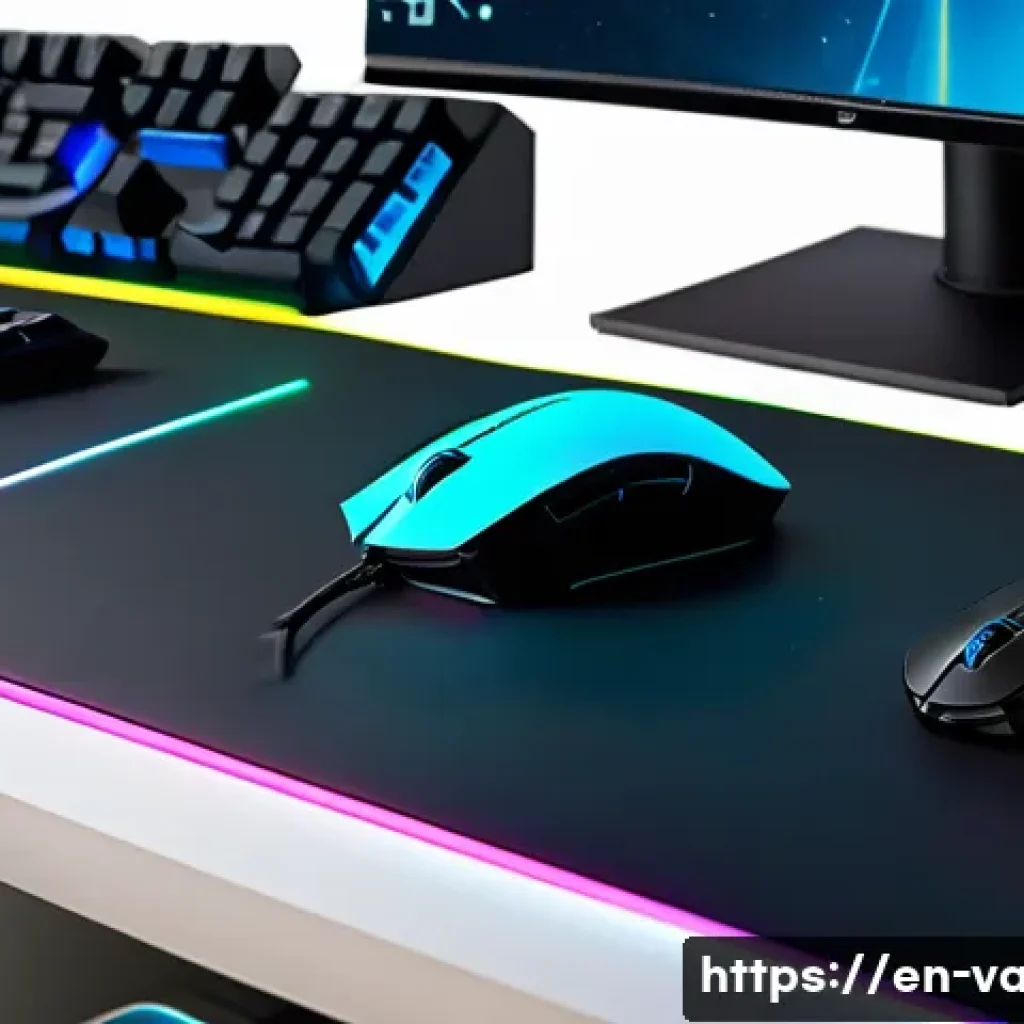
Getting started with Valorant can feel overwhelming, especially when you’re new to the game’s fast-paced mechanics and strategic depth. The right game settings can make a world of difference, improving your aim, reaction time, and overall gameplay experience.
From adjusting your sensitivity to customizing crosshairs, every tweak counts when climbing the ranks. Many beginners overlook these crucial settings, but mastering them early can give you a serious edge.
Whether you’re playing on a budget setup or a high-end rig, optimizing your settings is the first step toward becoming a confident player. Let’s dive into the details and make sure you’re set up for success!
Optimizing Your Mouse Settings for Precision
Finding the Perfect Sensitivity
Choosing the right mouse sensitivity is a game-changer in Valorant. Too high, and your aim becomes jittery and inconsistent; too low, and you might struggle to turn quickly in intense firefights.
When I first started, I experimented with various sensitivities and realized that a lower setting combined with a larger mousepad gave me much better control.
A good rule of thumb is to start with a sensitivity that allows you to do a full 180-degree turn with one or two swipes of your mouse. This helps build muscle memory and ensures your flick shots are accurate.
Don’t be afraid to tweak it as you improve — what works initially might feel sluggish once your reflexes sharpen.
Understanding DPI and In-Game Sensitivity
DPI (dots per inch) and in-game sensitivity together dictate your cursor speed. Many beginners overlook adjusting DPI on their mouse software and rely solely on in-game settings, which can lead to inconsistent performance.
Personally, I set my DPI between 400 and 800, then fine-tune the in-game sensitivity to match. This combo tends to provide smooth and predictable aiming behavior.
Keep in mind that higher DPI with high sensitivity can cause erratic movements, so balance is key. Experimentation is essential; track how your adjustments affect your aim over multiple sessions before settling on a setting.
Enabling Raw Input for Consistency
Raw Input bypasses Windows mouse acceleration and ensures the game reads your mouse movements directly. Activating this setting is crucial because it removes any external influence on your aiming, making your movements more consistent and reliable.
I noticed an immediate improvement in my aiming stability after enabling Raw Input. If it’s off, your mouse movements might feel delayed or altered, especially if you’ve disabled mouse acceleration in your operating system but the game is still applying its own adjustments.
Always check this box for the most straightforward and predictable control.
Customizing Your Crosshair for Clarity
Selecting the Right Crosshair Style
Valorant offers a variety of crosshair styles, from static dots to dynamic lines that expand when you move. Early on, I gravitated towards a simple, static crosshair because it offered a clear and consistent aiming point without distractions.
Dynamic crosshairs can be fun but sometimes make it harder to judge exact bullet placement, especially at long range. A clean crosshair with minimal elements helps maintain focus during high-pressure situations.
Try out different presets and customize colors to stand out against various map backgrounds.
Adjusting Thickness and Length for Visibility
The thickness and length of your crosshair lines affect how easily you can spot your aim on the screen. If the lines are too thin, they might blend into the environment, especially on darker maps.
Too thick, and they can obscure your target. I found a middle ground by setting moderate thickness and length, which kept my crosshair visible without being overpowering.
It’s also smart to choose a color that contrasts well with the maps you play most often. Bright green or cyan often works well, but personal preference plays a big role here.
Adding Outlines and Center Dots
Outlines and center dots can significantly improve crosshair visibility. The outline helps separate the crosshair from complex backgrounds, preventing it from disappearing against walls or foliage.
The center dot adds an exact focal point, which can be especially helpful for those who prefer pinpoint precision. When I added a subtle outline and a small center dot, my tracking shots became noticeably smoother.
These tweaks are subtle but can make a huge difference in your overall aiming consistency.
Optimizing Video Settings for Maximum Performance
Balancing FPS and Visual Clarity
Valorant is a game where high frame rates and smooth gameplay trump ultra-realistic graphics. I learned this the hard way when I initially cranked all settings to max, only to suffer from frame drops and input lag.
Lowering settings like shadows, textures, and anti-aliasing can boost your FPS dramatically without sacrificing clarity. Keeping your FPS stable above 144 (if your monitor supports it) or at least above 60 is crucial for reacting quickly.
Don’t hesitate to sacrifice some visual flair to maintain silky smooth performance, especially in competitive matches.
Choosing the Right Resolution and Aspect Ratio
While many players stick to native resolution, some pros switch to lower resolutions or different aspect ratios like 4:3 stretched to increase target size and reduce distractions.
I tried this method, but personally, I found native 16:9 resolution more comfortable because it preserves map visibility and detail. If you want to try stretched resolutions, be aware that it might distort visuals and take some time to adjust.
Ultimately, choose a resolution that feels natural and lets you spot enemies without strain.
Disabling V-Sync and Other Latency-Adding Features
Features like V-Sync can introduce input lag, which is a silent killer in fast-paced shooters. Turning off V-Sync, motion blur, and similar effects reduces latency and helps your actions register immediately.
I noticed my shots felt more responsive after disabling these features, especially during close-range encounters. While screen tearing might occur without V-Sync, the trade-off is worth it for competitive play.
Keep your system cool and drivers updated to avoid stuttering or frame drops.
Configuring Audio for Better Game Awareness
Using Stereo vs. Surround Sound
Choosing between stereo and surround sound setups depends on your hardware and preference. I started with a basic stereo headset and learned to pick up directional cues effectively just from left-right audio.
Surround sound can enhance spatial awareness, but only if your headset and drivers support it well. Sometimes surround settings can introduce confusing echoes or distortions.
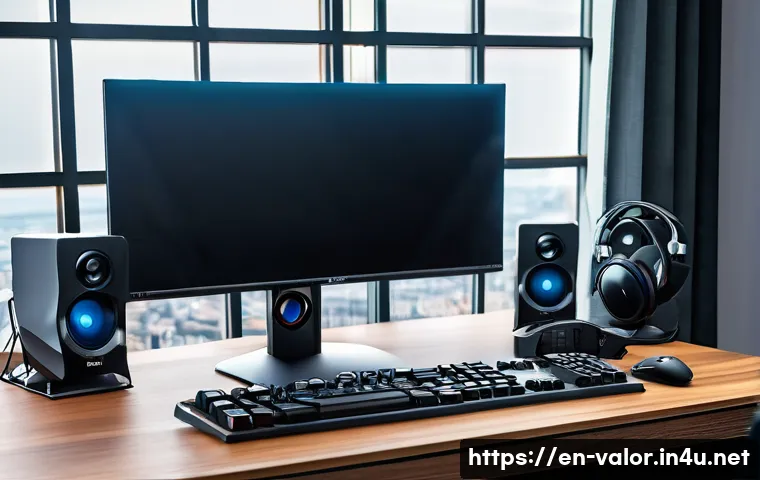
Test both and stick with what lets you identify footsteps, gunfire, and abilities clearly.
Adjusting Volume Levels for Key Audio Cues
Valorant has many subtle audio cues — enemy footsteps, ability sounds, reloads — that can be easily missed if your volume settings aren’t balanced. I recommend turning up game sound effects relative to music or voice chat.
This way, environmental sounds become more prominent, helping you anticipate enemy positions. Avoid maxing out volume to prevent ear fatigue, but keep it loud enough to catch those vital audio hints.
Enabling Voice Chat Smartly
Voice communication is essential for team coordination, but it can also be distracting if not managed properly. Use push-to-talk to avoid background noise and set voice chat volume so teammates are audible but not overwhelming.
I found that muting toxic players and using party chat improved my focus and enjoyment. Balancing communication and in-game sounds is key for maintaining situational awareness.
Mastering In-Game Keybinds and Interface
Customizing Keybinds for Comfort and Speed
Default keybinds are a decent starting point, but remapping them to suit your hand size and playstyle can shave precious milliseconds off your reactions.
For example, I moved my ability keys closer to my movement keys for quicker access. Experiment with binds for crouch, jump, and weapon switching to find what feels most natural.
Comfortable keybinds reduce hand fatigue and improve your overall performance.
Adjusting HUD Elements for Better Visibility
The heads-up display can be cluttered with unnecessary info that distracts from gameplay. I turned off some HUD elements like kill feed or round timer to minimize distractions and focused only on the essentials like health, ammo, and radar.
You can also resize and reposition elements to suit your screen and preferences. A cleaner HUD helps maintain focus during intense moments.
Using Practice Range Settings to Test Configurations
The practice range is invaluable for testing sensitivity, crosshair setups, and keybinds without pressure. I spend time there every session to warm up and try new configurations.
Use it to see how your mouse feels at different sensitivities or how your crosshair looks against various backgrounds. This hands-on experimentation fast-tracks your improvement and builds confidence before jumping into ranked matches.
Tuning Network Settings for Stable Gameplay
Checking Your Ping and Server Selection
Low and stable ping is crucial for smooth gameplay. Valorant automatically selects the best server, but sometimes manually choosing a server closer to your location yields better results.
I noticed fewer teleporting enemies and smoother movement after switching servers. Use the in-game ping display to monitor your connection regularly and avoid servers with high latency.
Disabling Background Applications
Running heavy apps in the background can eat up bandwidth and CPU, causing lag spikes. I always close unnecessary browsers, streaming apps, and downloads before playing.
This simple step reduces packet loss and keeps my connection steady. If you share your network, consider scheduling downloads or large uploads outside of your gaming hours.
Enabling Network Buffering Settings
Valorant offers network buffering options like “Network Buffering” and “Limit FPS When Not Focused” that can affect latency. Disabling unnecessary buffers can reduce input delay.
I experimented with these options and settled on minimal buffering for the most responsive experience. This setting depends on your PC and internet quality, so test what works best for you.
| Setting Category | Recommended Range | Why It Matters |
|---|---|---|
| Mouse DPI | 400 – 800 | Balances precision and speed for consistent aiming |
| In-Game Sensitivity | 0.3 – 0.6 | Fine-tunes cursor speed to personal comfort |
| Crosshair Color | Bright Green, Cyan, or White | Maximizes visibility against most map backgrounds |
| Graphics Settings | Low to Medium | Ensures high FPS and reduces input lag |
| Audio Setup | Stereo or Surround | Improves spatial awareness and enemy detection |
| Ping | Under 50 ms | Minimizes lag and improves hit registration |
Wrapping Up
Optimizing your mouse, crosshair, video, audio, keybinds, and network settings can dramatically improve your performance in Valorant. These tweaks not only enhance precision but also boost your overall game awareness and comfort. Remember, small adjustments over time lead to big improvements. Keep experimenting and refining your setup to find what truly works for you.
Useful Tips to Remember
1. Start with a mouse sensitivity that allows smooth 180-degree turns, then fine-tune as your skills grow.
2. Balance DPI and in-game sensitivity for consistent and predictable aiming.
3. Choose a clean, high-contrast crosshair with outlines and center dots for better visibility.
4. Lower graphics settings to maintain high FPS and reduce input lag during intense gameplay.
5. Prioritize stable, low-ping servers and close background apps to minimize lag and ensure smooth matches.
Key Takeaways
Precision and consistency in your settings are essential for competitive success. Focus on balancing mouse sensitivity and DPI, customizing your crosshair for clarity, and optimizing video and audio settings to enhance your game awareness. Don’t overlook network stability—low ping and minimal background interference significantly impact responsiveness. Finally, tailor your keybinds and HUD to suit your playstyle and comfort, making every match feel natural and controlled.
Frequently Asked Questions (FAQ) 📖
Q: What sensitivity settings should I start with in Valorant as a beginner?
A: When you’re just starting out, it’s best to pick a sensitivity that allows you to comfortably track targets without feeling twitchy. Many new players find a lower sensitivity—somewhere between 0.3 and 0.5 on the in-game scale—helps improve accuracy because it gives you finer control over your crosshair movement.
I personally started around 0.4 and adjusted slightly as I got more comfortable. Remember, it’s more about consistency than high sensitivity. Try to avoid constantly changing your settings; stick with one for at least a week and see how it feels in different scenarios.
Q: How important is customizing the crosshair, and what should I look for?
A: Customizing your crosshair can drastically improve your aim and reaction time. A clear, simple crosshair that doesn’t distract you is key. I found that a small, static crosshair with a bright color like cyan or green really helped me focus better on targets, especially in hectic firefights.
Avoid overly complicated or animated crosshairs because they can clutter your view. The goal is to have a crosshair that stands out against any background and gives you instant feedback on where your shots will land.
Q: Should I change my graphics settings if I have a budget PC?
A: Absolutely! Optimizing your graphics settings can make a huge difference, especially if your rig isn’t top-tier. Lowering settings like shadows, textures, and effects can boost your frame rate, which directly affects how smooth your gameplay feels.
I’ve noticed that when my FPS is stable above 144, my aiming feels way more responsive. Don’t worry about the game looking less pretty; performance wins over visuals in competitive play.
Also, turning off V-Sync and limiting your frame rate to your monitor’s refresh rate can help reduce input lag.


Contents
Mastering Valorant Esports Commentary Tips to Captivate Your Audience Like a Pro