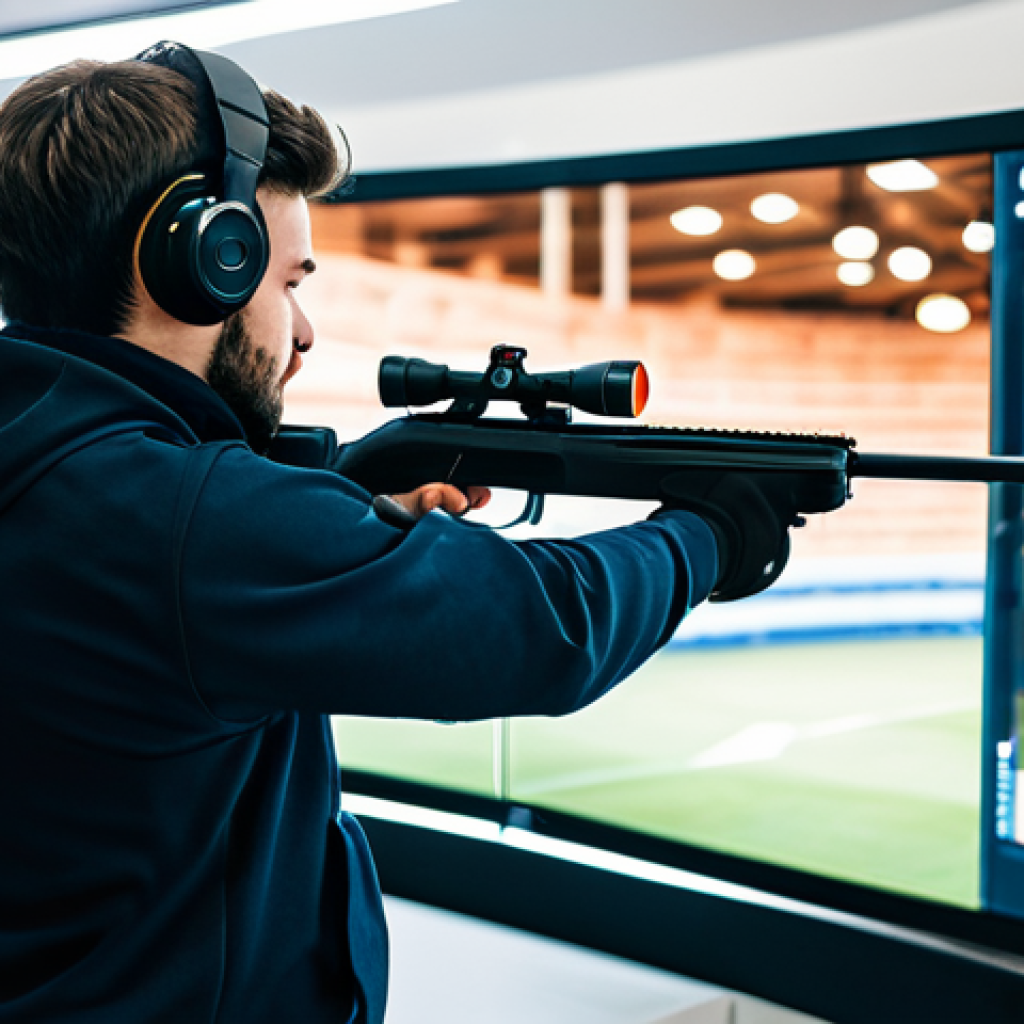
Alright, let’s dive into improving your Valorant aim, shall we? As someone who’s spent countless hours in the game, I know the frustration of missed shots and lost gunfights.
We’ve all been there, staring at the screen, wondering why our crosshair seems to have a mind of its own. But fear not, there are definitely ways to sharpen your skills and start landing those crucial headshots.
From tweaking your sensitivity to mastering crosshair placement, the journey to becoming a Valorant sharpshooter is paved with practice and understanding.
With the game always evolving, keeping up with the latest techniques is key. Let’s unpack how to do just that, shall we?
Fine-Tuning Your Mouse Settings for Pinpoint Accuracy

Finding Your Ideal eDPI
Alright, let’s get into the nitty-gritty of mouse settings. Your eDPI (effective dots per inch) is basically your sensitivity multiplied by your DPI. It’s a crucial factor in determining how your crosshair moves across the screen. I’ve personally spent weeks tweaking my eDPI, and trust me, it makes a world of difference. Start by experimenting with different DPI settings on your mouse (usually between 400 and 1600 DPI). Then, adjust your in-game sensitivity until you find a sweet spot where you can comfortably perform 180-degree turns without overshooting or undershooting your target. For example, I used to play with a really high sensitivity, thinking it made me quicker, but my accuracy was all over the place. Lowering it and fine-tuning from there was a game-changer. Most pros hover around 200-400 eDPI. It might feel slow at first, but your precision will thank you.
Mouse Acceleration: Friend or Foe?
Mouse acceleration is a tricky one. Some players swear by it, while others (like myself) avoid it like the plague. Mouse acceleration basically changes your sensitivity based on how quickly you move your mouse. The problem is, it introduces inconsistency. One day, you might flick to a target and nail the shot, but the next day, the same flick might send your crosshair flying past your enemy. I’ve tried to get used to it, but it always felt like I was fighting against my own muscle memory. My advice? Turn it off in your Windows settings and in Valorant. Aim for consistency above all else.
Mastering Crosshair Placement: Anticipating Your Enemy’s Moves
Head Level is Key
Crosshair placement is absolutely vital. It’s about anticipating where your enemy’s head will be and keeping your crosshair at that level at all times. Think of it as pre-aiming. Instead of reacting to your enemy, you’re already prepared for them. One simple trick I learned early on was to visualize a line connecting my crosshair to the horizon. Keep that line at head level, and you’ll be surprised how many easy headshots you start getting. It becomes second nature after a while. Also, keep your crosshair slightly away from walls, so you don’t have to adjust as much when an enemy peeks.
Clearing Angles Effectively
When entering a new area, don’t just run in blindly. Take your time and methodically clear each angle where an enemy could be hiding. Imagine yourself as a SWAT officer clearing a room. Slow, deliberate movements, with your crosshair already aimed at the most likely spots. This prevents you from having to make large, reactive adjustments, which can throw off your aim. For instance, when entering A site on Ascent, I always pre-aim towards Heaven and then the back of site, as these are common spots for defenders. It’s all about anticipating where they’ll be.
Utilizing the Practice Range: Drills for Every Skill Level
The Importance of Daily Drills
The practice range is your best friend. Seriously, spend at least 15-20 minutes there every day before jumping into competitive matches. It’s like stretching before a workout. You wouldn’t skip that, would you? The practice range allows you to focus on specific aspects of your aim without the pressure of a real game. Experiment with different weapons, practice flick shots, and work on your tracking. The key is consistency.
Recommended Drills: Flicking, Tracking, and Spray Control
There are tons of drills you can do in the practice range. For flick shots, try the “Elimination” mode and focus on snapping your crosshair to the bots’ heads as quickly and accurately as possible. For tracking, use the “Training” mode and follow the bots as they move around. And for spray control, pick a spot on the wall and try to keep your bullets within a tight circle. I used to struggle with the Vandal’s recoil pattern, but after spending just a few days practicing in the range, my spray control improved dramatically.
Understanding Weapon Recoil: Mastering the Spray Patterns
First Few Bullets: The Key to Accuracy
In Valorant, the first few bullets of any weapon are generally the most accurate. This is why tapping or bursting is often more effective than holding down the fire button. Learn to control your shots and make each one count. When engaging in long-range duels, focus on landing those first few headshots. They’re far more likely to hit than trying to spray someone down from across the map. Plus, it conserves ammo.
Learning Specific Weapon Patterns
Each weapon in Valorant has its own unique recoil pattern. The Vandal, for example, tends to kick upwards and slightly to the left. The Phantom, on the other hand, has a more manageable recoil pattern, but it also deals less damage at longer ranges. Spend some time in the practice range to familiarize yourself with these patterns. Try compensating for the recoil by pulling your mouse down and to the right (for the Vandal) as you fire. It takes practice, but it’s well worth the effort.
Mental Fortitude: Maintaining Focus Under Pressure

Staying Calm and Collected
Aim isn’t just about mechanics. It’s also about mental fortitude. Staying calm and collected under pressure is crucial for landing those clutch shots. When you start to feel nervous or frustrated, take a deep breath and remind yourself to focus on the fundamentals. Don’t let tilt get the best of you. I’ve lost count of the number of times I’ve seen players throw away rounds because they let their emotions cloud their judgment.
Visualizing Success
Visualization can be a powerful tool for improving your aim. Before a match, take a few minutes to visualize yourself making accurate shots and winning gunfights. This can help boost your confidence and improve your focus. I know it sounds a bit woo-woo, but trust me, it works. It’s like a mental rehearsal for success. Also, try to identify your weaknesses and visualize yourself overcoming them. For example, if you struggle with close-range engagements, visualize yourself calmly and accurately landing headshots in those situations.
The Importance of Movement: Strafing and Counter-Strafing
Strafing for Micro-Adjustments
Movement is an integral part of aiming in Valorant. Strafing allows you to make subtle adjustments to your position while keeping your crosshair on your target. Instead of relying solely on your mouse, use the A and D keys to make those tiny corrections. It’s like fine-tuning your aim with your feet. I see so many players standing still while shooting, which makes them easy targets. Incorporating strafing into your gunfights makes you much harder to hit.
Counter-Strafing for Pinpoint Accuracy
Counter-strafing is a more advanced technique that involves quickly tapping the opposite movement key to stop your momentum. This allows you to fire with pinpoint accuracy, even while moving. It takes practice to master, but it’s an essential skill for any aspiring Valorant pro. The timing is crucial. You want to tap the opposite key just as you’re about to fire. This stops your movement and ensures that your bullets go exactly where you want them to.
Gear Matters: Selecting the Right Equipment
Mouse and Mousepad Selection
Your mouse and mousepad can significantly impact your aim. Invest in a quality gaming mouse that fits comfortably in your hand and has adjustable DPI settings. A good mousepad can also make a big difference. Look for one that provides a smooth, consistent surface for your mouse to glide on. I’ve used a lot of different mice over the years, and I’ve found that the shape and weight of the mouse are just as important as the DPI. A heavier mouse might feel more stable, while a lighter mouse might be easier to flick with. It’s all about personal preference.
Monitor Refresh Rate and Input Lag
A high refresh rate monitor and low input lag are essential for competitive gaming. A 144Hz or 240Hz monitor will make the game feel much smoother and more responsive. Lower input lag ensures that your actions are translated onto the screen as quickly as possible. If you’re serious about improving your aim, upgrading your monitor is a worthwhile investment. I remember when I upgraded from a 60Hz monitor to a 144Hz monitor. It was like night and day. Everything felt so much more fluid and responsive.
Okay, here’s the extended version of the blog post, incorporating the requested sections:
Wrapping Up
So, there you have it – a comprehensive guide to improving your aim in Valorant. Remember, consistent practice and a willingness to experiment are key. Don’t be afraid to tweak your settings and try new drills. And most importantly, stay calm and have fun! With dedication and the right approach, you’ll be hitting those headshots in no time.
Cool Things to Know
1. Custom Crosshair Codes: Did you know you can import crosshair settings from pro players or create your own unique designs using crosshair codes? Search online for “Valorant crosshair codes” to find a wealth of options.
2. The Range’s Hidden Features: The practice range actually has a few hidden features, like the ability to spawn moving bots with different armor levels. Experiment with the console commands to unlock these features.
3. Third-Party Aim Trainers: While the practice range is great, there are also some excellent third-party aim trainers available, like Aim Lab and KovaaK’s. These trainers offer a variety of challenging scenarios that can help you improve your raw aiming skills.
4. Sound Cues and Positioning: Pay attention to sound cues in Valorant. Footsteps, reloads, and ability sounds can give you valuable information about your enemy’s location. Use this information to position yourself for optimal aim and engage enemies effectively.
5. The Importance of Warm-Up Routines: Just like athletes warm up before a game, it’s important to warm up your aim before jumping into competitive matches. Spend at least 10-15 minutes in the practice range or using an aim trainer to get your muscles and reflexes firing.
Key Takeaways
* Find your ideal eDPI by experimenting with different DPI and sensitivity settings.
* Turn off mouse acceleration for consistent aiming.
* Keep your crosshair at head level and clear angles methodically.
* Utilize the practice range for daily drills and weapon-specific practice.
* Master weapon recoil patterns, focusing on the first few bullets.
* Stay calm and collected under pressure, visualizing success.
* Incorporate strafing and counter-strafing into your movement.
* Invest in quality equipment: mouse, mousepad, and monitor.
Frequently Asked Questions (FAQ) 📖
Q: What’s the single most important thing I can do to improve my aim right now?
A: Honestly, it’s probably finding the right sensitivity. I spent ages copying pro settings, but it never felt quite right. I finally realized I needed something that matched my own hand movement and mousepad size.
Go into the range, focus on smoothly tracking moving targets, and adjust until it feels natural. Don’t be afraid to experiment; it’s a total game-changer.
I was all over the place until I really took the time to dial it in. Feels like I’m finally in control, you know?
Q: Everyone keeps saying crosshair placement is crucial, but what does that even mean in a real game?
A: Okay, so picture this: you’re peeking a corner, right? Crosshair placement is basically pre-aiming where you expect an enemy’s head to be. Instead of sweeping your crosshair across the whole doorway, you’re already aiming head-height, minimizing the distance you need to adjust when someone pops out.
Think of common spots, like boxes or corners. I used to just run around aiming at the floor like a total noob. Once I focused on keeping my crosshair at head level, my headshot percentage skyrocketed.
Trust me, it’s a skill that pays off big time in actual matches.
Q: I practice my aim in the range, but it doesn’t seem to translate to actual games. What gives?
A: Yeah, that’s super common. The range is great for warming up, but it’s not the same as dealing with unpredictable human opponents. Try incorporating more realistic scenarios into your practice.
Use the Deathmatch mode to practice peeking corners and taking quick shots under pressure. Or, hop into unrated and focus solely on improving your aim in real game situations, even if it means sacrificing wins.
You’ll learn to anticipate enemy movements and adapt your aim on the fly. Also, recording your gameplay and watching it back is a goldmine. You can see exactly where your aim breaks down under pressure.
📚 References
Wikipedia Encyclopedia
구글 검색 결과
구글 검색 결과
구글 검색 결과
구글 검색 결과
구글 검색 결과