Okay, let’s be real for a second. We’ve all been there – grinding Valorant matches, feeling like our aim is just… stuck.
You hit those crisp shots sometimes, sure, but then there are those days where it feels like you’re shooting marshmallows, right? I’ve personally poured countless hours into trying to climb the ranked ladder, and I quickly realized that simply playing game after game wasn’t cutting it.
The current competitive meta, with its razor-thin margins for error and constant utility spam, demands a level of precision that casual warm-ups just can’t build.
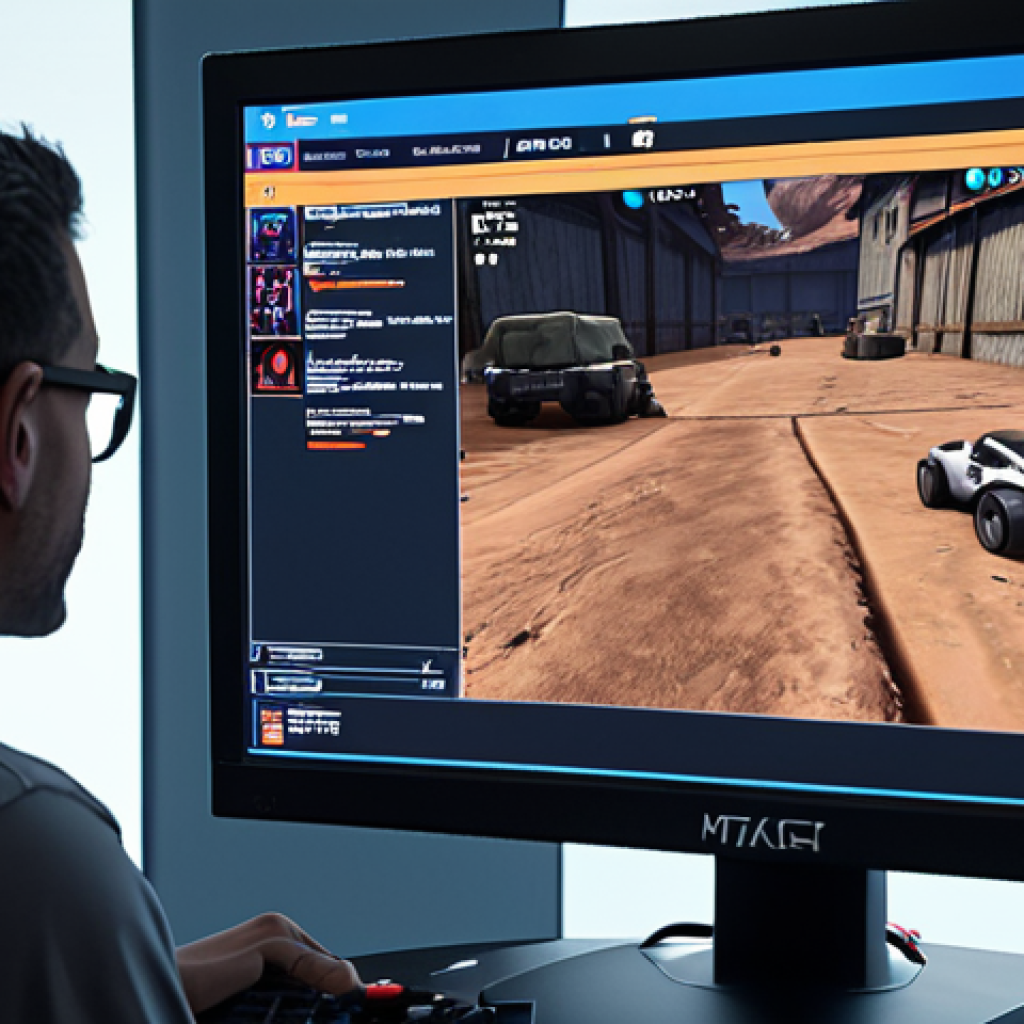
It’s frustrating when you know you have the game sense, but your flicks just aren’t connecting. That’s where dedicated aim practice maps come in – not just any map, but the ones truly optimized to sharpen every aspect of your shooting.
From my own grind, I’ve seen firsthand how a targeted approach can transform your performance, making those impossible shots feel routine. It’s about building muscle memory and confidence outside the pressure of a live match, giving you that undeniable edge.
Ready to stop feeling like you’re guessing and start dominating? Let’s dive into the details below.
Okay, let’s be real for a second. We’ve all been there – grinding Valorant matches, feeling like our aim is just… stuck.
You hit those crisp shots sometimes, sure, but then there are those days where it feels like you’re shooting marshmallows, right? I’ve personally poured countless hours into trying to climb the ranked ladder, and I quickly realized that simply playing game after game wasn’t cutting it.
The current competitive meta, with its razor-thin margins for error and constant utility spam, demands a level of precision that casual warm-ups just can’t build.
It’s frustrating when you know you have the game sense, but your flicks just aren’t connecting. That’s where dedicated aim practice maps come in – not just any map, but the ones truly optimized to sharpen every aspect of your shooting.
From my own grind, I’ve seen firsthand how a targeted approach can transform your performance, making those impossible shots feel routine. It’s about building muscle memory and confidence outside the pressure of a live match, giving you that undeniable edge.
Ready to stop feeling like you’re guessing and start dominating? Let’s dive into the details below.
Deconstructing Your Aim: Pinpointing Weaknesses Beyond Just “Bad Aim”

Before you even think about jumping into a specific practice routine, you’ve got to be brutally honest with yourself about what exactly is holding your aim back. It’s not just a vague concept of “bad aim”; it’s a collection of very specific mechanical deficiencies. For me, personally, I used to think my problem was just flicking, but after countless frustrating eco rounds where I just couldn’t land those crucial headshots, I realized my crosshair placement was abysmal. I was constantly having to make massive corrections, which wasted precious milliseconds. Are you overflicking or underflicking? Is your tracking on moving targets inconsistent? Do you struggle with micro-adjustments when an enemy peeks an unexpected angle? Understanding these nuances is crucial because it dictates which drills and maps will actually benefit you. Without this self-diagnosis, you’re just throwing darts in the dark, hoping something sticks, which is exactly what I did for far too long, achieving only incremental, unsustainable improvements.
The current meta in Valorant is incredibly fast-paced, and holding angles effectively means you need to pre-aim perfectly, often without the luxury of time for a big flick. This means isolating your weaknesses is more important than ever. What I’ve personally found incredibly effective is recording my gameplay, especially my deaths, and rewatching them with a critical eye. Was my crosshair at head height? Did I track properly through smokes? Did I react slowly to an unexpected pop-flash? These are the real questions that reveal your specific aim deficiencies. Maybe your problem isn’t the big, flashy flick, but rather the subtle, consistent micro-adjustments needed to stay on target as an enemy strafes, or the lightning-fast reaction time required to snap onto a player who swings wide. It’s about being a detective of your own failures, learning from each missed shot rather than just shrugging it off.
Optimizing Your Warm-Up Routine: Beyond Just Shooting Bots
When I first started taking Valorant seriously, my warm-up consisted of maybe five minutes in the range, shooting a few bots, and then jumping straight into competitive. Unsurprisingly, my initial few rounds were always a mess. Over time, I developed a more structured approach, treating my warm-up not as a chore, but as a critical performance enhancer. I’ve found that a good warm-up needs to be dynamic, hitting different aspects of aim. Starting with static bots, then moving to strafing bots, and finally incorporating movement drills on dedicated maps significantly improves the consistency of my initial gunfights. It’s about waking up those specific muscle memories and getting your hand-eye coordination firing on all cylinders before the pressure of a live match. Think of it like a pro athlete warming up their specific muscles before a game, not just doing a few jumping jacks.
My personal go-to routine on a dedicated aim map usually involves a few key stages, each designed to prime different aspects of my aim. I start with a focused burst of static headshot practice, usually around 50-100 targets, ensuring I’m truly taking my time with each shot and emphasizing precision over speed. After that, I transition to moving targets, adjusting the speed and difficulty to challenge my tracking. This is where I really notice the difference in my ability to stay locked onto a target during a chaotic skirmish. Finally, I incorporate a few rounds of “pistol only” practice or Guardian-only drills, focusing on controlled bursts and tapping. This variety ensures that when I enter a match, I feel prepared for any situation, whether it’s a close-range shotgun battle or a long-range rifle duel. It makes a tangible difference in my confidence and my first-shot accuracy.
Mastering Micro-Adjustments and Precision Tracking
Let’s be honest, everyone wants to hit those insane flicks that make chat go wild. But what truly wins rounds, especially in higher elos, are the consistent micro-adjustments and impeccable tracking. I used to rely too heavily on big flicks, often overshooting or undershooting my target, especially when they were strafing unpredictably. It was infuriating. I realized that the real magic happens in those tiny, almost imperceptible mouse movements that keep your crosshair locked onto an enemy’s head as they try to jiggle-peek or stutter-step. This is where dedicated tracking drills become invaluable. They train your wrist and arm to make those fine-tuned corrections, transforming wildly missed shots into near-misses, and then eventually, into consistent headshots.
For me, the revelation came when I started focusing less on how quickly I could flick to a target and more on how long I could *stay* on it. This shift in mindset completely changed my practice. I started using drills where targets would move erratically, forcing me to continually adjust my crosshair, often without clicking, just maintaining the lock. It’s a drill that builds muscle memory for sustained accuracy, which is paramount in clutch situations where you have to track a rapidly moving target while dodging utility. If you’re like me and your tracking feels like a roller coaster, then slowing it down and truly feeling those micro-adjustments will be a game-changer. It’s not as flashy, but it’s the silent assassin of consistent aim.
The Unseen Edge: Leveraging Your Hardware and Settings
You can practice all day, but if your setup isn’t optimized, you’re fighting an uphill battle. I learned this the hard way when I was struggling with seemingly random inconsistencies in my aim. It turned out my mousepad was worn in certain spots, causing friction, and my DPI was slightly off for my sensitivity. It’s not just about having the best gear, but ensuring what you have is working optimally for *you*. From monitor refresh rate and response time to mouse sensor quality and polling rate, every small detail contributes to how smoothly your aim translates from your hand to the screen. Even something as simple as ensuring your mouse cable isn’t snagging can make a world of difference.
Beyond the physical hardware, your in-game settings are equally critical. Your sensitivity, crosshair, and even graphical settings can significantly impact your aiming performance. I experimented for weeks, tweaking my eDPI, trying different crosshair styles – small dots, crosses, custom lines – until I found what felt truly natural and unobtrusive. A lower sensitivity generally promotes more consistent aim, but it needs to be comfortable enough for you to do a full 180-degree turn without lifting your mouse too much. Moreover, ensure your display settings are giving you the lowest input lag possible. Turning off V-sync, optimizing Nvidia/AMD control panel settings for performance, and using a higher refresh rate monitor (if available) can provide a noticeable edge in responsiveness that simply cannot be replicated by pure practice alone. It’s about removing any potential bottlenecks between your intention and the game’s execution.
Integrating Aim Practice Into Your Daily Routine Without Burning Out
Look, we all want to get better, but finding the time and motivation to consistently practice aim can feel like another chore, especially after a long day. I’ve personally experienced the burnout of trying to grind too hard, only to feel my performance stagnate. The key, I’ve found, is to make it a sustainable, enjoyable part of your routine, not a grueling obligation. For me, this means breaking down my practice into shorter, focused sessions instead of one long, monotonous block. Maybe 10-15 minutes before jumping into a ranked match, and another 5-10 minutes focusing on a specific weakness after a particularly bad game. Consistency trumps intensity when it comes to building lasting muscle memory.
What worked for me was finding a specific time slot each day that I could dedicate to aim practice, even if it was just 15 minutes. It became a habit, like brushing my teeth. On days when I felt particularly tired, I would focus on less intensive drills, maybe just crosshair placement or slow, precise shots. On days when I felt energetic, I’d push myself with speed drills and more complex scenarios. The goal isn’t to be perfect every session, but to show up consistently. Remembering that every bit of practice, no matter how small, contributes to long-term improvement helps keep the motivation high. It’s a marathon, not a sprint, and sustainable practice is how you cross the finish line.
Beyond the Bots: The Mental Game and Its Impact on Your Aim
This might sound cliché, but your mental state can drastically affect your aim. I can’t tell you how many times I’ve had amazing warm-ups, felt like a god, only to get into a ranked game, get eco’d, and then immediately tilt, causing my aim to fall apart. It’s frustrating, right? The pressure of clutch situations, the toxicity of teammates, or even just feeling off can lead to shaky hands and missed shots. Recognizing this connection was a huge turning point for me. It’s not just about muscle memory; it’s about maintaining composure and confidence under pressure.
What I’ve personally started doing is incorporating mental resilience into my practice. Before I even start shooting bots, I take a few deep breaths, clear my mind, and visualize hitting perfect shots. During practice, if I miss a difficult shot, instead of getting frustrated, I analyze *why* I missed and immediately try to correct it, rather than letting the failure snowball. This disciplined approach extends into competitive matches. If I die, I quickly re-evaluate, reset my mindset, and focus on the next round. It’s about building a mental fortress around your aim, ensuring that external pressures don’t chip away at your mechanics. Remember, a calm mind often leads to a steady hand.
Analyzing Your Progress and Adapting Your Training Regimen
So, you’re putting in the work, you’re feeling some improvement, but how do you really know if your aim practice is paying off? And more importantly, how do you adjust your routine as you get better? For me, just “feeling good” wasn’t enough. I needed concrete data. I started tracking my K/D ratio more closely, paying attention to my first blood percentages, and even looking at my average combat score in matches. While these aren’t perfect indicators of aim alone, consistent positive trends usually mean your practice is hitting the mark. Don’t be afraid to occasionally re-evaluate your warm-up and drill choices; what worked a month ago might not be the most efficient use of your time now that your skills have evolved.
I’ve found it incredibly useful to keep a simple log, even if it’s just a mental one, of my aim practice sessions and how I felt during and after them. Did a particular drill feel especially beneficial? Did I struggle with a specific type of target? This self-reflection helps tailor your future sessions. Furthermore, don’t be afraid to experiment with new drills or even different practice maps as your skill ceiling rises. The goal is continuous improvement, and that means constantly pushing your boundaries. Maybe you’ve mastered static flicking; now it’s time to focus on movement precision or advanced peeking drills. The game evolves, and so should your practice.
| Aim Skill Focus | Core Practice Goal | Recommended Drill Types | Personal Benefit (What I Felt) |
|---|---|---|---|
| Flick Aim | Rapid, accurate target acquisition from an offset position. | Static bot flick drills, “1-tap” drills, timed scenarios. | My reaction time and initial snap-to-target improved dramatically, making opening picks more consistent. |
| Tracking Aim | Sustained accuracy on moving targets. | Strafing bot drills, unpredictable movement patterns, movement-based scenarios. | No more “spray and pray” when enemies jiggle-peek or dodge; cleaner sustained fire. |
| Crosshair Placement | Pre-aiming at head height/expected enemy locations. | Pre-aim routes, deathmatch without shooting (focus on crosshair placement), walking through maps. | Significantly reduced the need for large aim corrections, leading to faster kills and less wasted ammo. |
| Micro-Adjustments | Small, precise corrections to stay on target. | Slow strafing bot drills, long-distance target acquisition, recoil control drills. | My overall shot consistency skyrocketed, especially for follow-up shots and against subtle enemy movements. |
| Reaction Time | Speed of response to visual cues. | Pop-up target drills, speed challenges, randomized target spawns. | I started winning more duels where I saw the enemy at the same time, giving me a decisive edge. |
Wrapping It Up
So there you have it. Improving your aim in Valorant isn’t some mystical journey only for the pros; it’s a dedicated, consistent process of self-analysis, targeted practice, and mental fortitude.
I’ve personally seen my gameplay transform from frustrating inconsistency to confident, impactful plays by embracing these principles. It’s about moving beyond just “playing games” and truly investing in your mechanical skill and mindset.
Remember, every missed shot is a lesson, and every small improvement builds towards that consistent, game-winning aim you’re chasing. Keep grinding, stay sharp, and I’ll see you on the leaderboards.
Good to Know
1. Sensitivity Converter Tools: If you’re coming from another FPS game like CS:GO, Apex Legends, or Overwatch, don’t guess your sensitivity. Online sensitivity converter tools can accurately translate your eDPI to Valorant, helping you maintain muscle memory without starting from scratch.
2. Beyond The Range: While the in-game firing range is a great starting point, consider using dedicated aim training software like Aim Lab or Kovaak’s FPS Aim Trainer. They offer a much wider variety of drills and detailed statistics to pinpoint specific weaknesses.
3. Pro Player Setups: While not a direct copy-paste solution, researching pro player mice, sensitivities, and crosshairs can offer valuable insights. Use them as a starting point for your own experimentation, rather than an end-all-be-all setup.
4. Ergonomics Matter: Don’t underestimate the impact of your physical setup. Ensure your chair height, desk height, and monitor distance are comfortable and allow for a full range of arm and wrist movement without strain. Poor ergonomics can directly lead to inconsistent aim and even injuries.
5. Community-Made Crosshairs: Valorant has a robust system for sharing crosshair codes. Explore online communities (Reddit, YouTube, Discord) for popular or unique crosshairs, and don’t be afraid to try different styles until you find one that feels perfect for your vision and playstyle.
Key Takeaways
Improving your Valorant aim is a holistic process. Start by honestly diagnosing your specific weaknesses beyond a general “bad aim.” Develop a structured, dynamic warm-up routine that goes beyond simple bot shooting, focusing on precision, tracking, and micro-adjustments.
Optimize your hardware and in-game settings to ensure peak responsiveness. Integrate sustainable, consistent practice into your daily routine to avoid burnout, and always remember the crucial impact of your mental state on your performance.
Finally, continuously analyze your progress and adapt your training to push your skill ceiling higher.
Frequently Asked Questions (FAQ) 📖
Q: Why can’t I just improve my aim by playing more ranked games?
A: Honestly, I used to think the same thing! I poured countless hours into competitive matches, thinking that sheer repetition would eventually make my flicks crisp and my crosshair stick.
But here’s the brutal truth I discovered: ranked games are too chaotic to truly isolate and refine your aim. You’re dealing with enemy utility, team comms, map rotations, and the pressure of winning or losing RP.
It’s like trying to learn to juggle while riding a unicycle – too many variables to focus purely on one skill. You might hit some good shots, sure, but you’re not systematically breaking down your mechanics.
That constant, high-pressure environment actually hinders deliberate practice, which is where real improvement happens. You need a controlled space to fail, learn, and repeat.
Q: What makes these “truly optimized” aim practice maps so special compared to just, say, the regular firing range?
A: Oh, this is where the magic happens! The regular firing range is a decent starting point for a quick warm-up, but it’s pretty one-dimensional. Optimized aim maps?
They’re designed to dissect and target every single facet of your aim. Think beyond just popping static bots. We’re talking about incredibly specific drills for flick training, micro-adjustments, tracking moving targets, holding tricky angles, or even perfecting your peek timing.
Some even offer immediate feedback on your accuracy or reaction time. It’s about dissecting your aim into tiny components and drilling each one until it’s second nature.
The real beauty is the sheer variety and customization – if you struggle with quick, close-range fights, there’s a map for that. If your long-range tracking feels off, there’s a drill specifically for it.
This targeted approach is what builds that robust muscle memory you need when the stakes are high.
Q: How quickly can I expect to see noticeable improvements in my aim by consistently using these maps?
A: Alright, let’s manage expectations here – it’s not a silver bullet, and you won’t become an aim god overnight. My own journey taught me that consistency is absolutely key.
However, if you commit to even 15-30 minutes of focused, deliberate practice on these maps each day before hopping into competitive, you’ll start feeling a difference surprisingly quickly.
Within a week or two, you’ll notice your crosshair feeling more “magnetic,” those frustrating misses becoming less frequent, and your reaction time sharpening.
After a month? It’s genuinely wild to see how routine those “impossible” shots start to feel. It’s not just about hitting more shots; it’s about the confidence that builds when you know your aim is reliable, which fundamentally changes how you play the game.
That feeling of dominating a gunfight because your mechanics are finally catching up to your game sense? Priceless.
📚 References
Wikipedia Encyclopedia
구글 검색 결과
구글 검색 결과
구글 검색 결과
구글 검색 결과
구글 검색 결과